
How to Install a Bird Feeder Pole in Your Yard
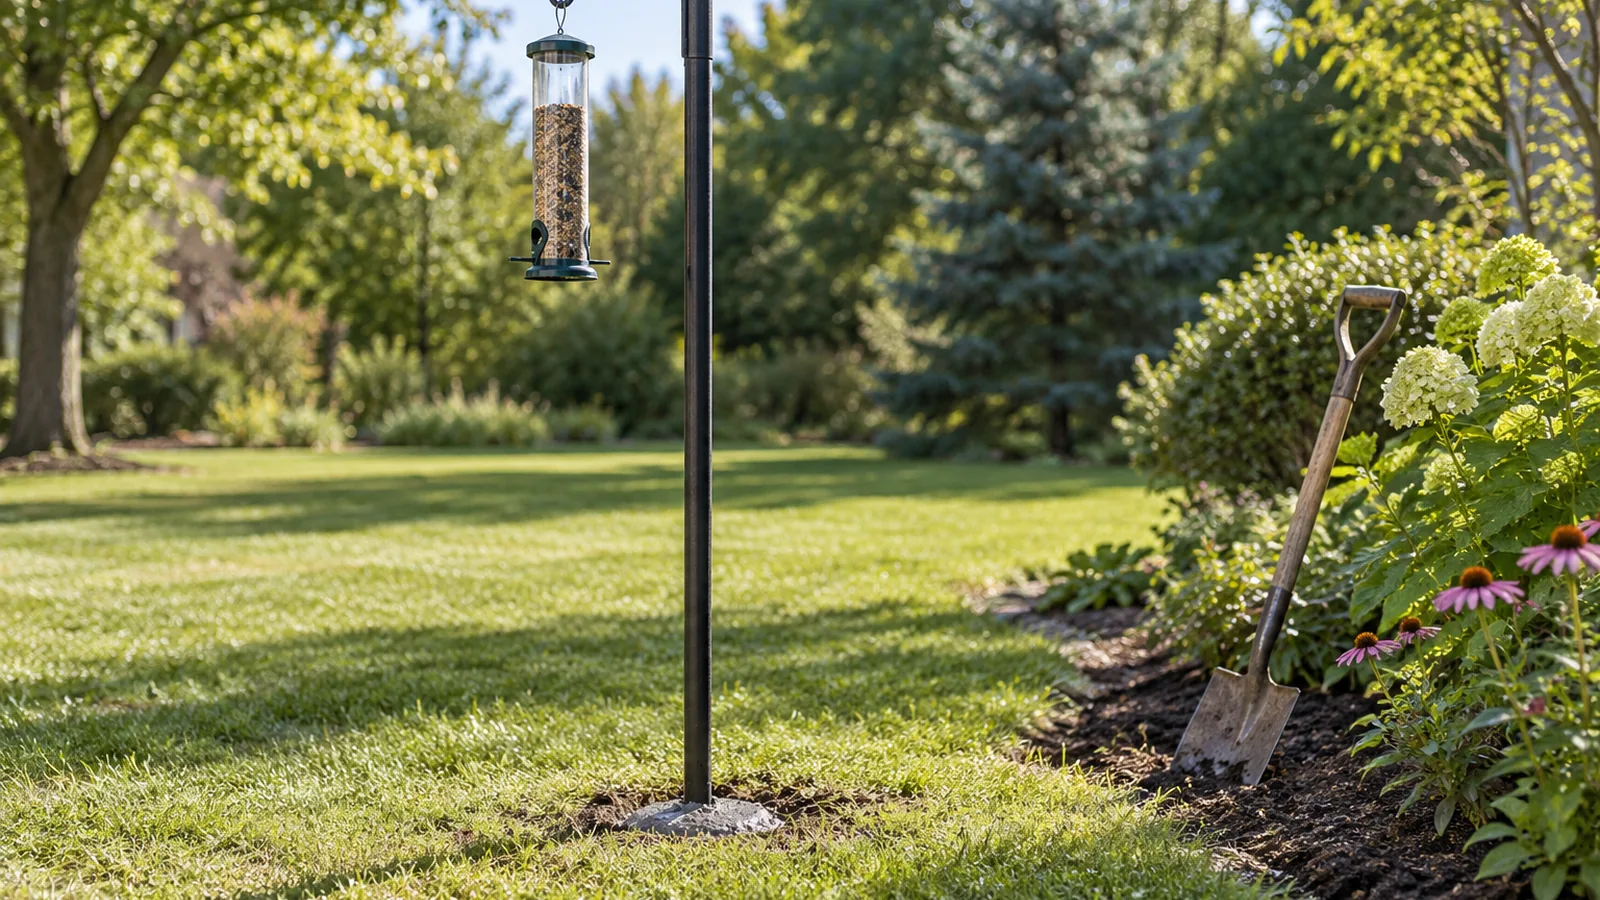
Quick answer
How to install a bird feeder pole?
Check the parts and power lines, place the pole about 10 ft. from solid launch points, then assemble it and secure its base before you hang a feeder. For Telepole’s ground-sleeve method in firm or heavy soil, dig a hole 10 in. wide and 15 in. deep, then set the sleeve in gravel and concrete. Loose or sandy soil needs a larger hole.
- Compare every section and fitting with the parts list, and check for overhead and underground power lines before you dig.
- Place the pole about 10 ft. from fences, decks, low branches, sheds, and woodpiles to block squirrel jumps.
- Join the sections as the instructions show.
- For a ground sleeve, add about 4 in. of gravel, center the sleeve, check that it is plumb in two directions 90° apart, then pour concrete around it.
- Let the concrete cure as its maker requires, then wait at least 24 hours before raising the pole to full height.
- Test the pole by hand before you add seed.
Install the Pole Step by Step
Set the base first, then test the pole before you hang a feeder. Base depth varies the most between designs, so each number below applies only to the setup named beside it.
| Item | Recommended value | Range in sources | Source |
|---|---|---|---|
| Burial depth, 8-ft post | 24 in. | 15 in. for Telepole sleeve in firm soil | tele-pole.com hurleybyrd.com |
| Hole diameter, ground sleeve | 10 in. | — | tele-pole.com |
| Gravel under sleeve | about 4 in. | — | tele-pole.com |
Chart of the table above.
Use 24 in. as your starting depth for an 8-ft post. The guide says softer soil or a heavier feeder may call for deeper burial, and a deeper base gives the pole more hold once the feeder adds weight.
- Check the parts. Lay out every section and fitting and compare them with the parts list in your pole’s instructions.
- Look for power lines. Check for overhead and underground power lines before you dig.
- Pick the spot. Place the pole about 10 ft from solid launch points such as fences, decks, low branches, sheds, and woodpiles. Check clearances from structures and plants against reliable guidance before you dig.
- Assemble the pole. Join the sections as the instructions show.
- Set the base. For a ground sleeve in firm or heavy soil, dig a hole 10 in. wide and 15 in. deep, and go larger in loose or sandy soil. Add about 4 in. of gravel, center the sleeve, and wedge rocks between the sleeve and the hole wall. Check that the sleeve is plumb in two directions 90° apart, then pour concrete around it.
- Let the concrete cure. Follow the cement maker’s requirements, then wait at least 24 hours before you raise the pole to full height.
- Attach the feeder and test. Push the pole by hand from two sides. It should not rock or lean, because a rocking pole can compromise the setup.
Choose a Suitable Spot for the Pole
Place the pole about 10 ft. from solid launch points so squirrels can’t jump onto the feeder. Those launch points are fences, decks, low branches, sheds, and woodpiles. Measure from the pole to the nearest one, not from the feeder’s position on the pole.
The distance varies a little by source. Some guidance puts it at 8 to 10 ft. from solid objects, while Cornell recommends at least 10 ft.
Go with 10 ft. or more, which meets both recommendations.
This distance addresses squirrels only. For clearance from buildings, trees, and shrubs, check a trusted local source before you set the final spot, because the figures above don’t cover those.
Pick a spot you can reach with a hose, a ladder, and a bag of seed without crossing wet grass or a steep slope. Put the pole where you can see it from a window or your favorite chair, so you notice which birds visit and refill the feeder on time.
Secure the Base for Your Yard
The base method depends on your pole’s design and the soil where you set it, so identify your system type before you dig.
Most pole bases fall into one of three types, and each one anchors differently:
- Ground sleeve set in concrete: For Telepole’s 2021 method, dig a hole 10 in. across and 15 in. deep in firm or heavy soil, then add about 4 in. of gravel for drainage. Center the sleeve and pour concrete around it. Loose or sandy soil may need a larger hole.
- Buried post: For an 8-ft. post, one installation guide gives 24 in. as the burial depth. It notes that softer soil or a larger feeder may call for more.
- No-dig screw pole: Brome’s BirdsUP 1 uses a screw-ended pole and installs without digging, tools, or cement.
Soil changes the plan. Soft, loamy, or sandy soil, or a concern about holding strength, may call for deeper burial or concrete. Clay holds poles more firmly, while hard, rocky soil may need less depth.
After you pour, let the cement harden as its maker requires, and wait at least 24 hours before raising the pole to full height.
Get the depth and anchoring figures for your model from its manufacturer before you start digging.
How Do You Check the Installed Pole?
Confirm that the pole stands upright and doesn’t rock or lean, then make sure the feeder hangs firmly from it. Test both before you add seed.
- Upright: Check that the pole is plumb with a level. Brome’s BirdsUP® 1 has a built-in bullseye level for this. On a ground-sleeve pole, check plumb in two directions 90° apart.
- Stable: Push firmly near the top and at the base. The pole should not rock, lean, or shift.
- Feeder attached: Hang the feeder, then tug it gently. It should stay secure and not loosen the pole.
Warning
If the pole moves at any of these checks, don’t add seed yet. Loosen the pole, correct its position, and recheck the base before you go on.
Frequently Asked Questions
Can a bird feeder pole be installed in a lawn?
Yes, you can set a pole in a lawn with a ground sleeve. Telepole’s method sets the sleeve level with the ground, which lets you mow over it once the pole is removed.
What tools do I need to install a bird feeder pole?
The tools depend on your pole type. A ground-sleeve pole needs digging tools for a hole about 10 in. wide and 15 in.
deep, plus about 4 in. of gravel and concrete. A screw-in pole like Brome’s BirdsUP 1 installs without digging tools or cement.
Can I install a bird feeder pole on a slope?
Yes, as long as the base stays stable. Soft or sandy soil may call for deeper burial or concrete, and the pole should never rock or lean.
How do I remove a bird feeder pole later?
Lift the pole out of its sleeve and leave the sleeve in the ground. If you dig out a buried sleeve, check for power lines first.
What if I hit a rock while digging the hole?
Rocks don’t have to stop the job. Telepole’s ground-sleeve method wedges rocks between the sleeve and the hole wall before pouring concrete. Hard, rocky soil may need less burial depth than soft soil, so recheck that the sleeve is plumb in two directions 90° apart before the concrete sets.
Conclusion
If you have a ground sleeve and firm soil, dig the hole and set the sleeve in concrete. If you can’t dig, choose a screw-ended pole instead. Either way, don’t hang seed until the pole passes the push test from two sides.
Sources
- tele-pole.com (tele-pole.com)
- baffleworks.com (baffleworks.com)
- hurleybyrd.com (hurleybyrd.com)
- BirdsUP® 1 (bromebirdcare.com)
